Professional windscreen replacement
If you own a car, chances are you’re aware of the occasional damage that can occur to your vehicle’s windscreen. In this article, you will discover the different steps and the process followed by the professionals at Autoglas Luxembourg for windscreen replacement.
Assess the damage before a windshield replacement
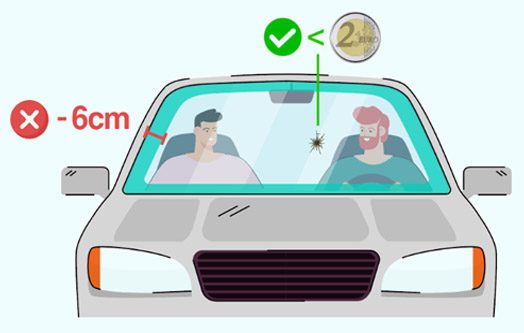
Note: It is advisable to check with your insurance company whether it covers the cost of replacing the windscreen.
Did you know?
At Autoglas Luxembourg, you can always come to our workshops without an appointment to repair an impact on your windscreen!
Autoglas Luxembourg replaces windscreens, side windows and rear windows for all types of vehicle: cars, lorries, buses, construction machinery, classic cars and special vehicles.
Autoglas Luxembourg only uses original quality products for windscreen replacement.
Our suppliers: Pilkington, AGC Automotive, Sekurit Service, Glavista and Dupont.
How long does a windshield replacement take?
The time taken to replace a windscreen can vary depending on a number of factors, such as the model of car, the type of windscreen, the extent of the damage and the availability of the components to be replaced. However, thanks to our modern logistics, we can generally offer a fast service tailored to your needs.
In general, replacing a windscreen can take between 1 and 2 hours.
Don’t hesitate to contact us about the work that needs to be done on your vehicle. Our team will be able to assess the situation and provide you with an estimate of the working time and replacement cost.
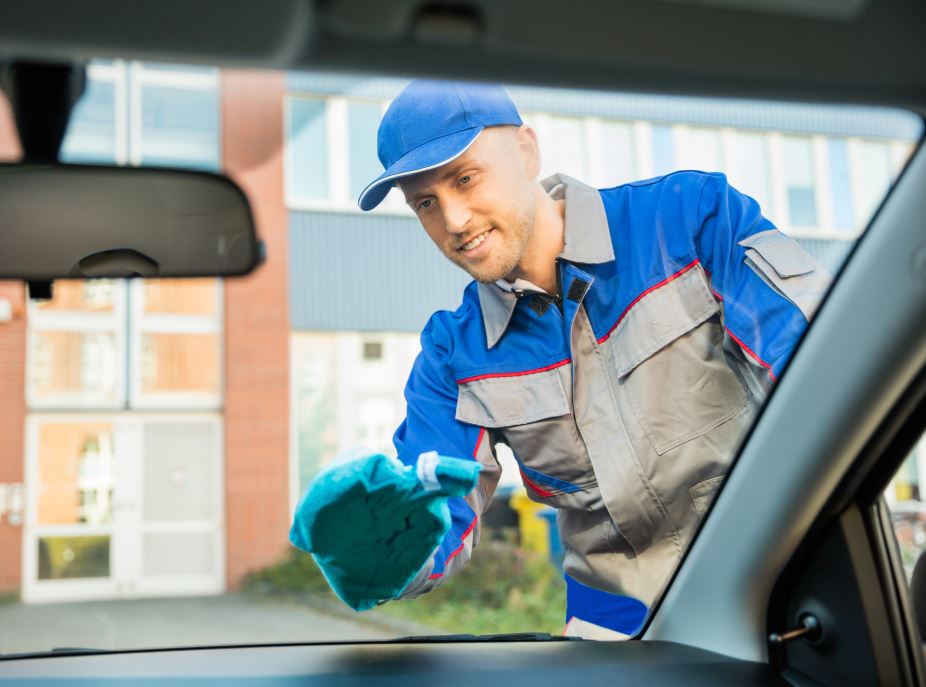
Preparation and control of the new windshield during a windshield replacement
Before fitting the new windscreen, the exterior must be cleaned and checked.
The technician then turns the windscreen over and applies a decontaminating product to the area that will come into contact with the adhesive, before cleaning and checking this area too.
The technician completes the windscreen preparation procedure by fitting the accessories and mouldings required before the windscreen is fitted.
Disassembly of elements, accessories and windshield
Avant d’enlever le le pare-brise, il est nécessaire de retirer les éléments externes tels que les essuie-glaces, la plage de pare-brise et les baguettes latérales. Ensuite, on procède au démontage du cache de finition, du capteur et de la caméra à l’intérieur.
Les techniciens utilisent un appareil spécifique équipé d’une corde en nylon pour découper la colle tout autour de l’ancien pare-brise lors de son retrait.La corde de nylon présente l’avantage de ne pas causer de dommages à la carrosserie ou aux éléments intérieurs tels que les montants ou le ciel de toit.
Preparing the surfaces before installing the windshield
Après cela, on retire l’excédent de colle en utilisant un couteau à lame et on nettoie soigneusement la carrosserie avec un chiffon et une solution de nettoyage, de manière à obtenir une surface plane, propre et sèche, prête à recevoir la nouvelle couche de colle.
Enfin, lors de la préparation de la carrosserie avant la pose du pare-brise, une couche d’apprêt est appliquée pour assurer une adhérence optimale avec la colle. Le technicien termine par le nettoyage du tableau de bord.
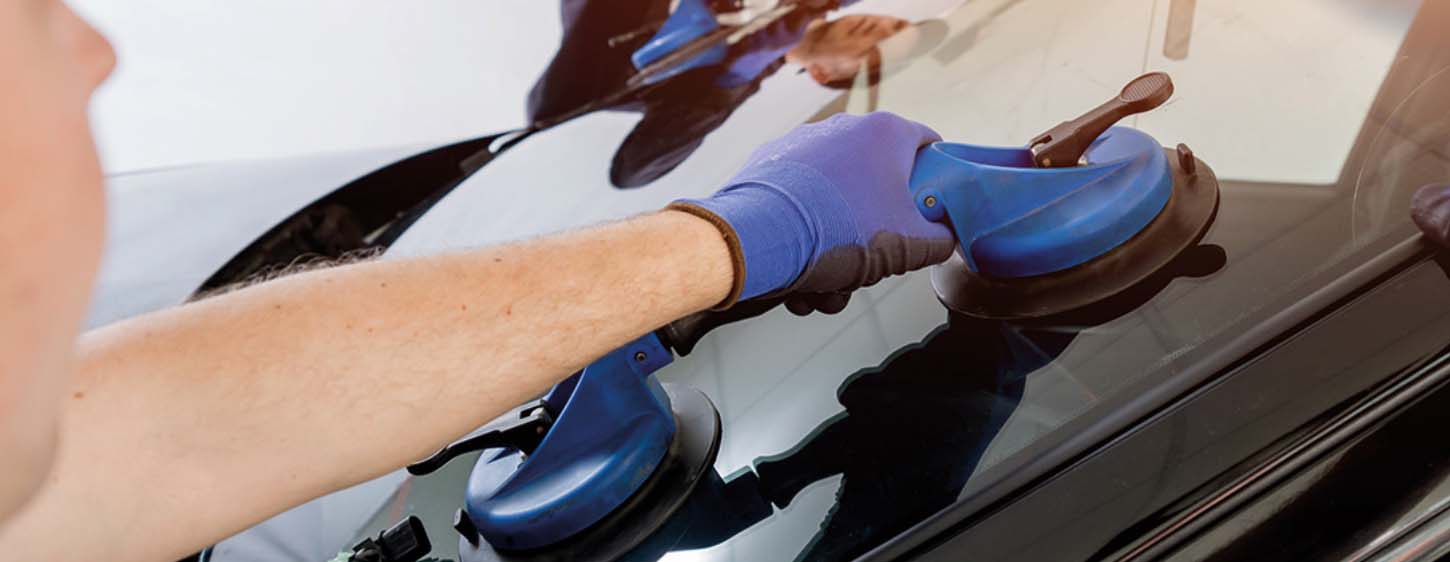
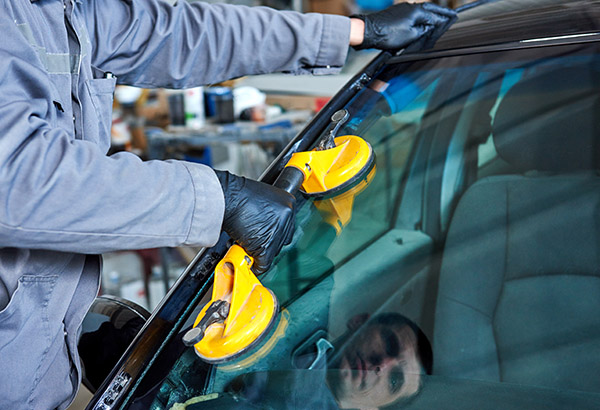
Installing the new windshield
The adhesive is applied to the original position of the new windscreen or bodywork using an electric pressure gun.
Then, using two suction cups attached to the glass, the technician places the new windscreen back on the vehicle and holds it in place with two pieces of adhesive or suction cups.
The new windscreen is then adjusted, with millimetre precision, to its original position.
Reassembly of elements, accessories around the windshield
The reassembly process carried out by the technician starts with the interior accessories such as the camera, sensor and trim covers, then continues with the exterior elements such as the side strips and windscreen wipers.
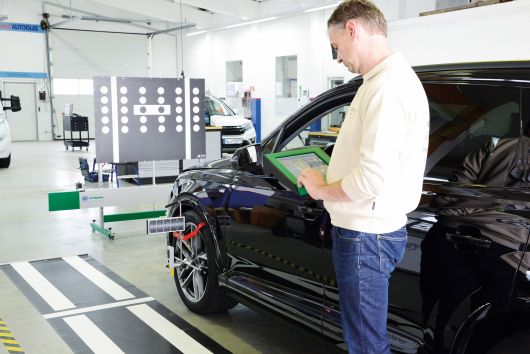
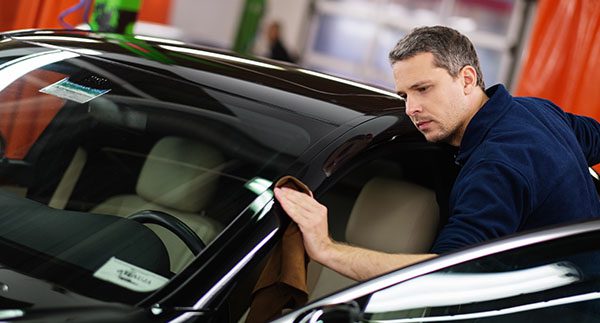
Cleaning, control and calibration
Once reassembly is complete, the technician tests the windscreen wipers and rain sensor.
He then removes the temporary fixings and carefully cleans the windscreen. The interior carpets are cleaned using a hoover and a cloth.
If your vehicle is fitted with a driver assistance camera, the technician will recalibrate it to complete the job.
Your windscreen is now clean and you can get back on the road in complete safety!