Windshield replacement with Autoglas Luxembourg
If you own a vehicle, chances are you are aware of the occasional damage that can occur to your vehicle’s windshield.
In this article, you will discover the different steps and the process followed by the professionals at Autoglas Luxembourg for windshield replacement.
Assess the damage before a windshield replacement
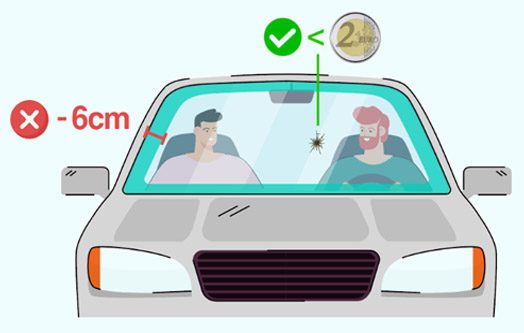
Note: It is advisable to check with your insurance company if they cover the cost of windshield replacement.
Did you know ?
At Autoglas Luxembourg, you can always come to our workshops without an appointment to repair an impact on your windshield!
Autoglas Luxembourg is involved in the replacement of windshields , side windows and rear windows for all vehicle models: cars, trucks, buses, construction machinery, vintage cars, special vehicles.
Autoglas Luxembourg only uses original quality products.
Our suppliers: Pilkington, AGC Automotive, Sekurit Service, Glavista and Dupont
How long does a windshield replacement take?
The time it takes to replace a windshield can vary depending on several factors, such as car model, type of windshield, extent of damage, and availability of items to be replaced. But be aware that due to modern logistics we can usually offer a fast service tailored to your needs.
In general, replacing a windshield can take 1-2 hours. Do not hesitate to contact us for the work to be carried out on your vehicle, our team will be able to assess the situation and provide you with an estimate of the working time and the cost of replacement.
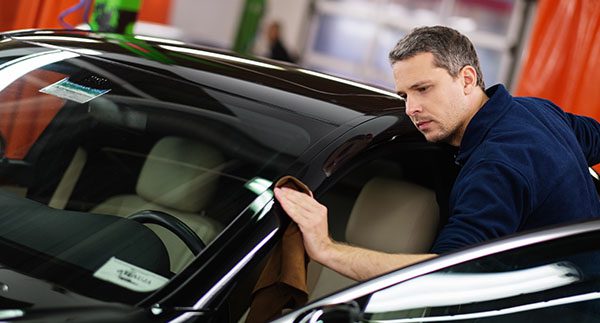
Preparation and control of the new windshield during a windshield replacement
Before installing the new windshield, it is necessary to clean and check the condition of the outer part. Then, the technician turns the windshield over and applies a decontaminating product to the area that will come into contact with the glue, then also cleans and checks this area.
The technician completes the windshield preparation procedure by reassembling the accessories and moldings necessary before installing the windscreen.
Disassembly of elements, accessories and windshield
Before removing the windscreen, it is necessary to remove the external elements such as the windscreen wipers, the windscreen area and the side moldings. Then, we proceed to disassemble the finishing cover, the sensor and the camera inside.
Technicians use a specific device equipped with a nylon cord to cut the glue all around the old windshield during its removal.
The nylon rope has the advantage of not causing damage to the bodywork or to interior elements such as the pillars or the headliner.
Preparing the surfaces before installing the windshield
After that, the excess glue is removed using a knife blade and the bodywork is carefully cleaned with a cloth and cleaning solution, so as to obtain a flat, clean and dry surface, ready to receive the new layer of glue.
Finally, during the preparation of the body before the installation of the windshield, a layer of primer is applied to ensure optimal adhesion with the glue. The technician finishes by cleaning the dashboard.
Installing the new windshield
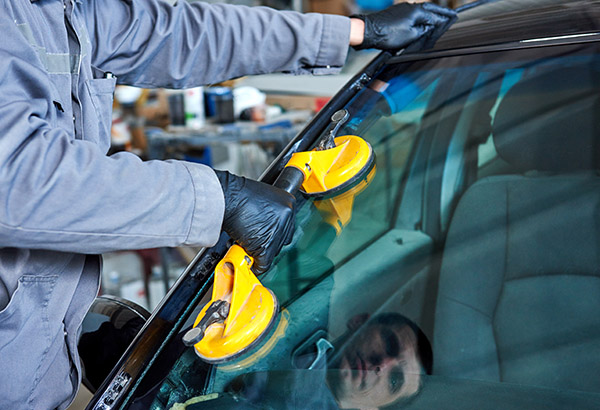
Glue is applied to the original location of the new windshield or body using an electric pressure gun.
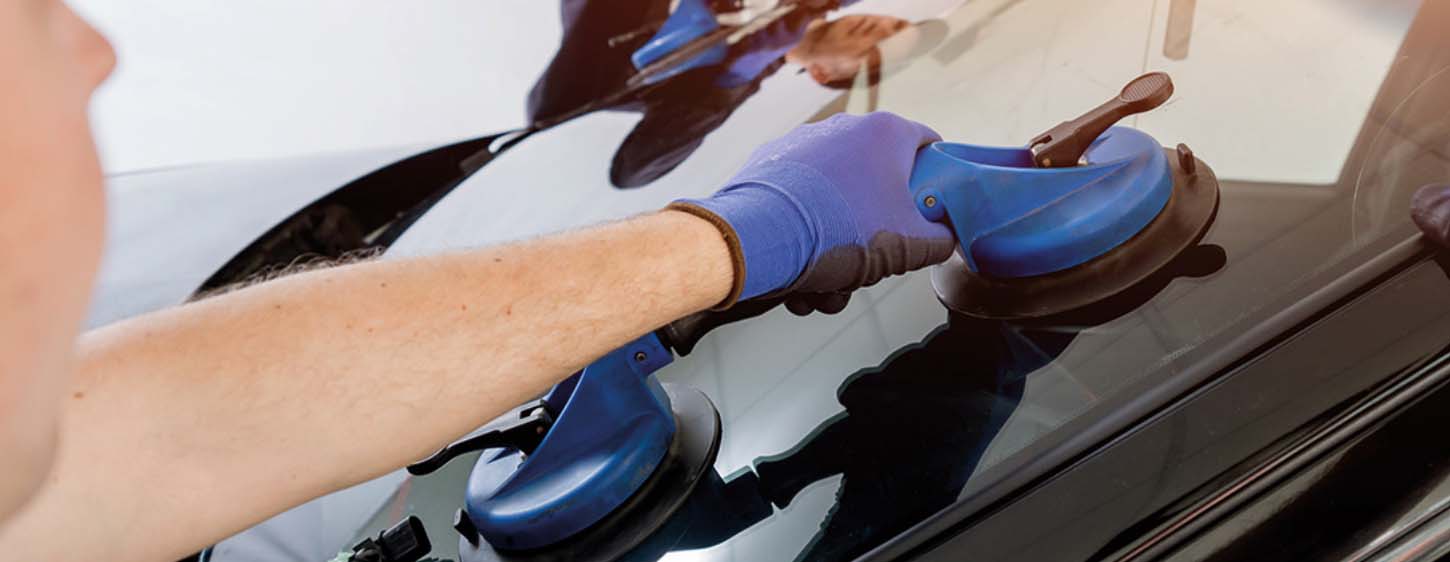
Then, using two suction cups attached to the glass, the technician replaces the new windshield on the vehicle and holds it in place with two pieces of adhesive or suction cups. The new windshield is then adjusted, with millimeter precision, back to its original position.
Reassembly of elements, accessories around the windshield
The reassembly process carried out by the technician begins with the interior accessories such as the camera, the sensor and the finishing covers, then continues with the exterior elements such as the side moldings and the windscreen wipers.
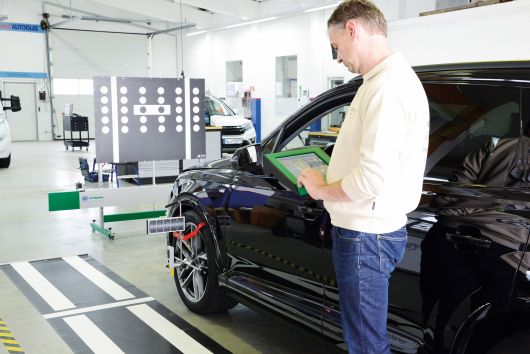
Cleaning, control and calibration
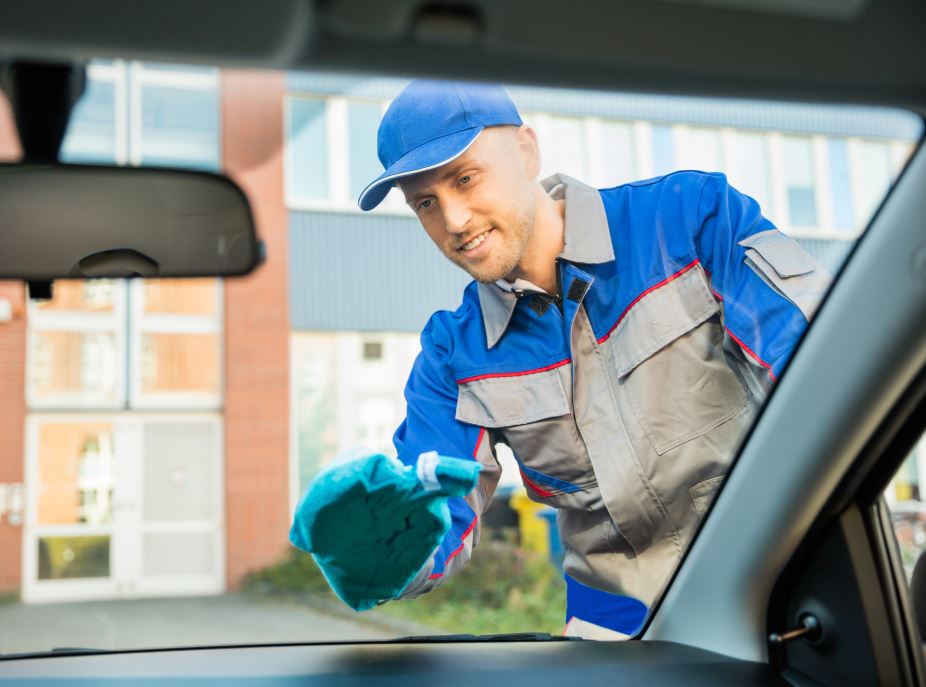
Once the reassembly is complete, the technician tests the wipers and the rain sensor. Then he removes the temporary fixings and carefully cleans the windshield. The interior carpets are cleaned with a vacuum cleaner and a cloth. If your vehicle is equipped with a driving assistance camera, the technician will recalibrate it to finalize the work.
Your windshield is then clean and you can get back on the road in complete safety!